Thursday, February 28, 2019


ATTACKED


Late summer is a dangerous time in New England, and September last was no different. I was a busy boy. Having done all of the interior work that I thought would bring my appraisal high enough so I wouldn't have to put any money down for the refinancing, I spent the entire year...well, doing what is chronicled in the pages of this diatribe. I'll go into that really soon. But one thing I had to let go this year was the yard. I was so busy with the removal of the barn roof and front wall, finishing out the kitchen, bedroom, and bathroom, (about three quarters done, but good enough for appraisal), and getting the cellar cleaned up, I let the weeds take over. Oh, I kept the grass mowed and grew a few ragged tomatoes, but I hadn't run the weedeater in months.
So one hot day I donned my overalls, fired up the Husqvarna, and went to town. I did the front yard first. Once in the backyard, I took on the weeds that grow along the welded wire dog fence; they really made the place look like, as my mother used to say, "Tobacco Road."
At one point, along the  fence section furthest from the house, my trimmer line became entangled with a piece of errant wire, and I had to set the trimmer down to untangle it while on my knees.
My hands immediately felt like they were caught in a fire. The pain was tremendous, as if a series of hot needles were being stabbed into the thin skin on the back of my hands and fingers. And because I'd experienced this exact sensation once before, I knew exactly what to do.
I screamed like a little girl, slapped my hands a hundred times, and jumped up, immediately falling to the ground to roll like a log, trying to kill the yellowjackets that were invading my overalls, long-sleeved shirt, and underwear. The ones on my hands continued to sting me. As did the others.

I am allergic to certain vespids. Yellowjackets and paper wasps especially. I have never been hit by a white-faced hornet, New England's most dangerous vespid (go back a few years to see one of THESE killers and the nest they build), but I hope to avoid that particular experience. This was bad enough. I have never been stung by more than three 'ground wasps' as others call them ('sweat bee' is another bullshit vernacular term; you'll call them by other names when you swallow one live from your open soda can), but each time this happened, I swelled up like a tick, my eyes swelled shut, and my joints swelled and hurt as if they were arthritic. I felt my throat get tighter, as well, and each time this happened, I was miles from help. And though I was worried, I survived without going into anaphylactic shock. This was before the days of epi-pens.
As I rolled and screamed, I slapped myself hard enough to cause bruises. I rolled, got up and ran, screamed in pain and rolled some more. I continued to slap my hands, more out of pain from the first stings than from anything still attacking me. All the running was intending to get me as close as I could get to my van, where I had quick-dissolving Benadryl strips as well as an epi-pen. When you are allergic to wasps, you keep your medicine close.
I continued to get stung as I reached the van and ripped open the package and put two anti-inflammatory strips in my mouth, which immediately began to go numb. Unfortunately this did not happen to the rest of my body. Ripping open my long-sleeved shirt, I was amazed to see fifteen or twenty yellowjackets fly from me. I pulled off my tee shirt and saw the same thing. Now they were stinging my legs; I wore shorts under my voluminous overalls. Finally, I sat on the van's side door floor and did my best to remove my overalls. Again, a flood of the little black and gold buggers flew off while I peeled parts of it away, but I had another problem. I couldn't get my overalls off, as my good sized  Merrell hikers were simply too big. Actually, they're not, but doing it carefully after a long day's work while sitting in my bedroom changing chair is quite different from doing it under the desperation of constant stings. Yellowjackets, unlike honeybees, have smooth stingers, as do all vespids (wasps and hornets). One can sting ten times in ten seconds. So they were doing now.


.
I finally untied my shoes, yanked them off, and removed the overalls . My overalls are size 46 waist, far bigger than my thirty eight waist. This is so I could layer clothes underneath in the winter and keep an air space around me in the summer. It also allowed the little wingstings to invade my clothes.
I continued to slap the little shits, intending on stomping them when they fell off stunned, but I stopped when I realized I had only socks with which to stomp them. The ground was littered with them. One more stung me under my shorts, so they came off as well. As did my underwear. I was left standing in the driveway in only socks, still slapping myself. I have no idea how many cars passed, but probably none. My road is pretty quiet. I couldn't possibly care less at this point. 
Once I was pretty sure there were no more wasps on me, I found a piece of wood and smashed all the half-dead ones on the ground. I threw all the clothing I could gather onto the wire fence as I turned and saw the dogs staring at me from the other side of the dog door. I imagine they had never heard me scream like that before.


And I began to swell. My hands got thick, my throat began to close. I pulled out the epi-pen (I have three) and waited. Once in the kitchen, I ran cold water over my hands, which hurt more than any other part of me. Where they stung my body, the pain was slower to wax, but my hand-stings were all on the backs of my fingers and the thin skin of the back of my hand. I can only guess that there are more nerves and muscles and less dermis or fat that might dull the pain in thicker places. I ate a couple of ibuprofen (I Be Broken, Connie named it) and looked at my hands. Tiny red dots were obvious; I supposed these were stings. I waited for the worst. The worst did not come. I went into the bedroom and put on underwear and shorts, another tee shirt and other shoes. I flinched at every touch of cloth on my skin. Not because I hurt (I did, trust me), but because I was so paranoid that I imagined any touch of something not my skin was another yellowjacket.
I'd flinch like this for weeks. 

I figured I received about twelve or thirteen stings, ten on my hands and three more to my body. But there had been so MANY in my clothes! How did I keep from getting stung?
Turns out I didn't. They stung me a minimum of twenty-eight times and as many as forty. It took days for my stings to show, and four days later, I counted eighteen red dots on my hands and fingers. Ten more were obvious on my back, abdomen and arms, and more on my legs. None got to my junk. Well, there was that.
In a few days, the pain subsided and each sting began to itch. That was when I found the extent of the stings. And I still am amazed at my ability to survive this attack without using the epi-pen. Maybe I'm not as allergic as I thought.

It took me a couple of days to approach the nest again. It wasn't hard to find; I let the weedeater run out of gas and did not approach that area for a couple of nights. I certainly could see them flying in and out of their hole from thirty feet away, and knowing how they can attack anything within fifteen feet, I kept my distance. I was now really paranoid of anything flying near me, and remained so for the rest of the autumn. But I destroyed that nest a few days later. I drowned it. There were three holes, and I put my hose right over each hole and flooded the buggers. It took all day, but they all drowned or disappeared. I still avoided the area religiously.

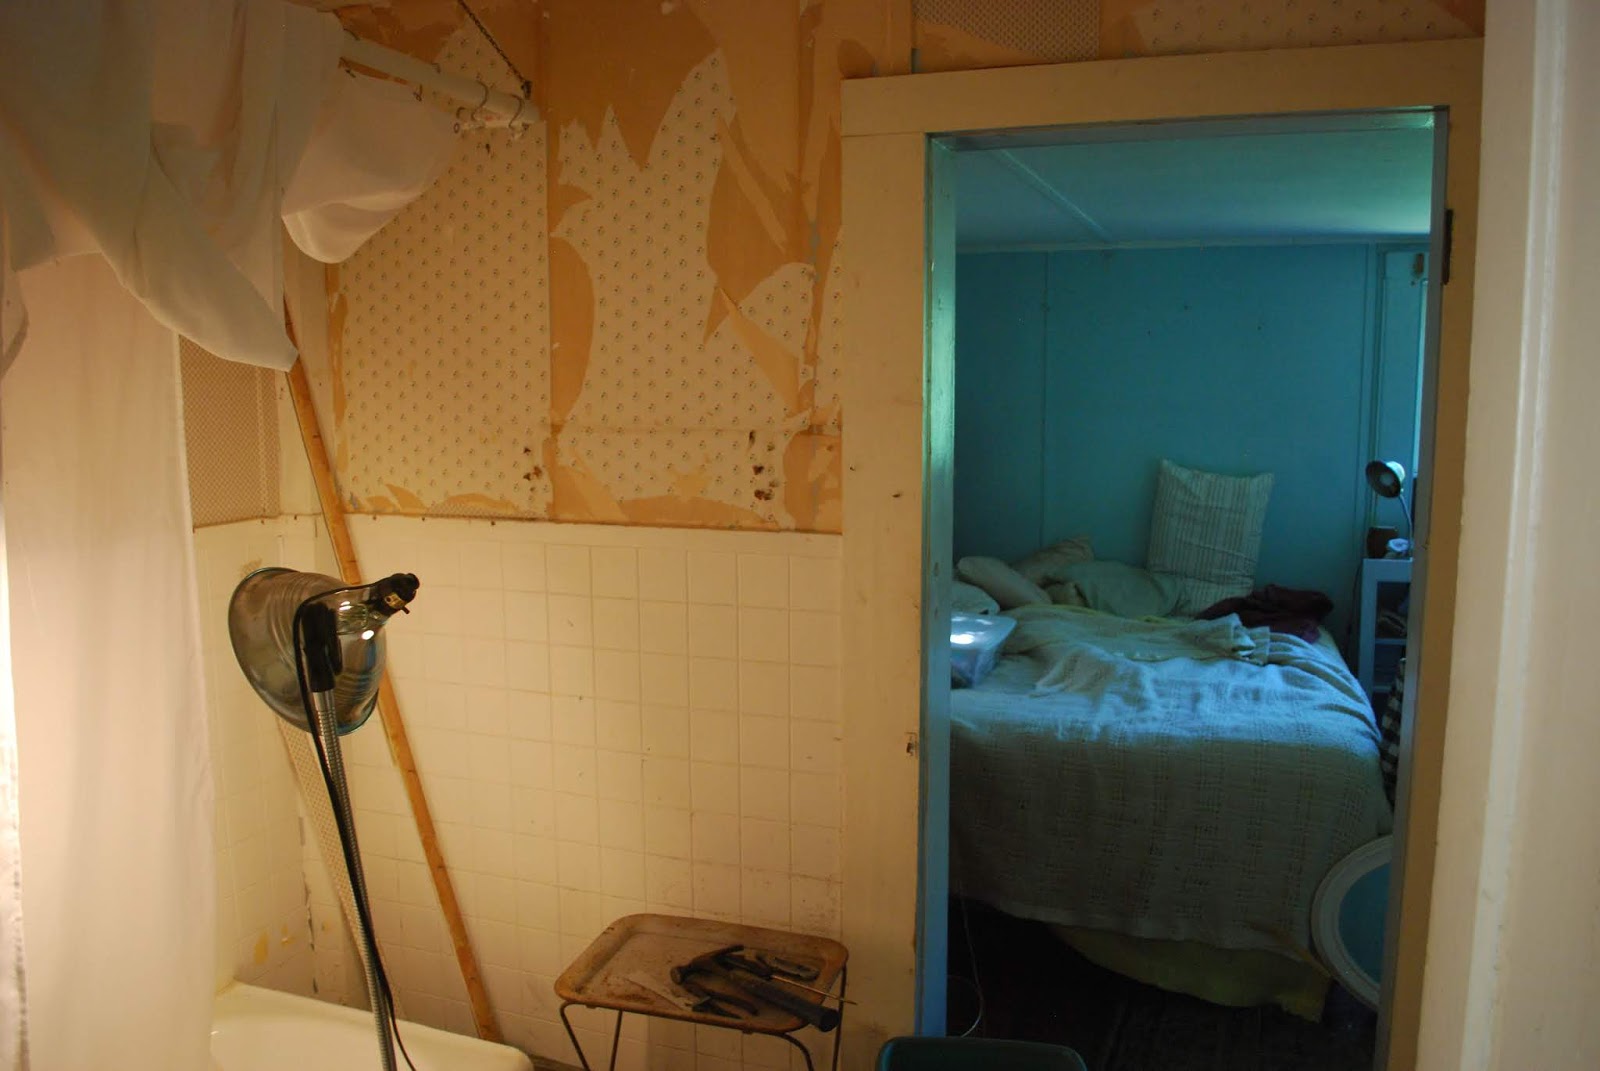
Two weeks later, when I did some touch-up painting in the bathroom, I was washing out my paint buckets by the dog fence near the garage, about fifty or sixty feet from the nest. As I put one of my buckets on a fencepost to drain, something buzzed my face, and I jumped back in time to see that I had nearly stepped onto another nest. They were streaming in and out of a series of holes scattered over three or four linear feet of the fence, and I shook my head. "At least I avoided it this time," I said, going for the hose. This time, the water did no good whatsoever. I flooded that nest for days, using thousands of gallons of water. They'd move over and create a new hole.
I finally got a couple of cans of long-distance spray, and since it was now October, I waited until a cool morning and flooded each hole with a can of that horrible poison. I HATE using chemicals, and hate putting things in the ground where I have no control over them, but I would be damned if I got stung again. In two days, I could approach the nest and fear nothing at all.
I never did the weedeating around the fence. I got too busy with the last part of the refinancing. At least that's what I told myself as to reasons. You can be the judge. I will clean up the property this spring. Yellowjackets are a late summer phenomenon around here.
I'll still keep my Benadryl and epi-pens nearby.

VAN

Remember the Red Van? You can go back a few years to see what it looked like when I found it in the woods. The last time you saw it, it looked like this.


It was barely running, and I had just started the body work. Mostly to get the penis off the side panel.

Now it looks like this.


Still not finished, but much better. Rides like a Cadillac. Needs a grille, mag wheels, and a way to paint behind the side logos. Oh, yeah. Real paint would help..

KITCHEN


Time was running short as I finished the bedroom wall painting, bathroom trim, and bedroom window work. I spent some time in the shop cutting, sanding, and varnishing the beadboard for the bathroom as well as the flat stuff for the kitchen. As in  much of my woodwork I'd add to the house, I used antique southern longleaf yellow pine, often called 'heart' pine. The stuff is between three and six hundred years old, having been harvested in thelate 1800s from old-growth trees over three hundred years old. 'Heart' pine is a bastardization of the word 'hard' pine; the quicker-growing shortleaf yellow pine is much softer. I gathered most of this as cast-offs from my job at DCAM, a millshop specializing in not only fine millwork from new wood, but from reclaimed old-growth wood such as this. I prolly already tole you this, but it can't be repeated enough; I owe a lot to DCAM and Brian Cooper for his allowing me to carry off the cut-offs from my job as Woodmizer operator. Hey Brian!
I'd already done the southeastern corner with this wood in a board-and-batten design, so I needed to finish the rest of the woodwork to match it.
But this is my KITCHEN. I LIVE in this room. The main fireplace is in here, the little teevee that only gets PBS (the only channel I get, and though it's enough, it's the BEST) is in the corner where I used to keep the bar when I had friends, my kitchen table where I write all this crap, and the stove. I carried this stove from a restoration job at The Boyle House on Arch Street in Little Rock Arkansas (Thanks, Cassie! Yoou're the BEST!). A 1980s O'Keefe and Merritt 36 inch gas job I installed in my last downtown home, I've rebuilt it a number of times. Like me, it's old, but works fine and can be updated with new parts.
What it didn't have was curb appeal. I would give it that, and it would be a royal pain in the ass.


The dogs fled their usual corner-of-the-room hangout when I began to set up my miter saw on the very stove upon which I intended to update. Good thing, I would have kicked them out anyway. This thing is a workhorse, and I like to cook. The kitchen has a bake oven built into the fireplace (1735 or thereabouts), and I use it for (of course) storing kindling for the fireplace. There was an ancient gas stove in the house when I bought it, and that thing had a heater built into its side. I tried it when I first came to the house and nearly died in the badly burned exhaust fumes. It went to the curb that afternoon and was gone in an hour. Scrap is scrap.
This pic was taken when the kitchen trim job was almost complete. My goal was to make the back side of the stove, normally hidden by counters and cabinets, a highlight of the room. Cheerio's chair sits in front of that black-painted recessed surface that was never intended to be seen. The battens can be seen leaning against the fireplace.


Installing thre battens. The stove had to be framed out with specially-planed  1x and 2x lumber to give me something upon which I could attach my antique heart pine boards and battens. The boards are wider pieces, the battens the less wide ones. I left a space  at the bottom for all the electrical and gass connections; I wanted them hidden, and they will be when I install the door. I also set the entire stove on a steel platform that has wheels. This is so I could move it around the room.
You see, my kitchen is the center of the house, and though I have had a (very) few individuals over for dinner, it has always been one person at my table against the front windows, and that person is me. I figure that it is possible that some day I might not be so much of a recluse and start actually try to LIKE humans (extremely doubtful), and I might actually have more than one person over for dinner (to feed, not to eat; I can cook those outside). But the only way to do that would be to pull the table from its windowside position, add leaves, and move the stove. So it's on wheels.
I've set it up so I can move it to the corner where the gas heater is, and their connections are the same.
I needed more light and so found a couple of small reticulated desk lamps and drilled holes topped with steel washers in which to set them. The washers make it swivel better and save the wood from gouging. I'll trim the overlong wires later. I installed a power strip at the top; not the best model, but I'll find a better one.
So you see?
Good.
Let's go on to the next slide.
Kimbrell? KIMBRELL!!!
CHANGE THE FRACKING SLIDE!!

Ahh, there, now.


On the right is what I did last year, when I was alive and had (some) hope. Then I decided to sort of finish the Kitchen Woodwork. What a maroon!
But you can see that I wrapped the antique new wood around the dishwasher, another castoff from another friend. Prolly already tole you.


Bout frinkin time. Installed this thing three yuears ago, use it twice a month. Finally trimmed it, and its back that faces the music room. That sheet in the background covers the digital guitar synthesizer and other electriomics.


THIS is why I care about my stove, incomplete as it is in these pics. I LOVE to eat good food and I cook a LOT. To prove it, I encountered this weird-looking vegetable at one of my favorite Good Food markets, Herb's Market in Montville, Connecticut. If you can get there, DO IT. Jeff had this vegetable and had no idea exactly what it was, but told me who grew it. I know the guy and he has lined my tummy with some perty formidable stuff, so I bought it.
AND ATE IT!!!!
It wur guuud, as I used to say back in Arkysaw. Sorta like brokkly on steeroids. With some Pete Townshend thrown in. YUM!


THIS is the reason I have a stove. My mother used to make a Pork Roast, and I loved her recipe. But her recipe called for a boneless rolled roast, a sort of tenderloin.
When I grew up I adhered myself to using a bone-in Shoulder Roast, often callec a Boston Butt. Don't ask me why. It's too disgusting already.
But not the recipe. It's gorgeous.
Get a six to ten pound shoulder roast, bone-in preferred. Trim the huge hunk of fat from the bottom; it's highly marbled and doesn't need any more. Place it in a rectangular Pyrex dish and rub it all over with ground or rubbed sage. Dry, not fresh. Use a thin filet knife to spear it about twenty times from the top and insert slices of fresh garlic into the holes. Cover with with REAL sour cream (no carrageenan or locust bean gum, now) and fresh cracked pepper. Put it in a 325 oven uncovered for 25 minutes a pound and drool as you fill your kitchen with the most amazing scents. Then throw it away and go to McDonald's for a classic McRib.
No, No, NO! I don't know who said that, it wasn't me. Let it sit for thirty minutes after you take it from the oven and slice it and eat it. Save all the drippings for au jus or gravy or to add to the frying pan thing I'm going to describe. Makes wonderful sandwiches cold and you can take big slabs from it, put them in a wide frying pan, add onion and broccoli, paprika and spices, put in cream cheese and a little water (don't forget a few spoonfuls of drippings), and eat like you mean it.


This one had no bone; I used baling wire to wrap it up and made it the same as above.


Yum.


I like stir fry too.


It looks like I cook with antifreeze and jigsaws. I don't know why I took this picture. There's a Cape Cod in that glass. That might 'splain it.


Sometimes I create things. There was an inexpensive tenderloin roast (rolled) on sale so I took it home, cut it into a lot of sections for freezing, and saved one piece. As I've said, I don't like rolled roasts; they have no fat, and fat flavors the meat. I unrolled it, stepped back and said, "Hmmmnnn…"


I made a paste from garlic and fresh basil (sort of pesto-like) and things I can't remember, then schmeered it on the meat.


I rolled it up, brushed it with olive oil, and put a dry rub of paprika, sugar, salt, and pepper on the thing. Then I smoked it for a few hours until it reached 170 degrees.


It was okay, but would have been better with more fat.
The dish is from the "I Love Lucy" TeeVee show.


Le Pot au Crock.


Le Interieur of Le Pot au Crock. Filled it with quartered golden potatoes, onions and carrots, added soy sauce, crushed red pepper, kosher salt, dry mustard, paprika, granulated garlic, celery seed, ginger, and sesame oil. Top it all with country-style ribs that have been seared (but are still uncooked) on the grill. Throw on chopped capers and more spices. Cook on low overnight and wake to the most fantastic scents throughout the house.


It's quite edible, you know.


My basil garden's second planting in August. It was one hell of a year for basil.
Volunteer cherry tomato at right. Harvest them green and put them in empty Claussen Pickle juice. Eating them now in winter.


There's no such thing as too much basil. But it took me two days to make a TON of pesto from this batch. Most is a-freezin'.


Saturday, February 23, 2019

BEDROOM


My bedroom does not usually look like this. It is being painted. Okay, it's getting READY to be painted. It's been Blue-blue on Blue-blue for as long as I've woken up within it. No wonder I'm depressed. Miles Davis might have seen this.


I've pulled everything away from the walls on one half of the room.
"ONLY HALF???" you scream.
 Hey, I LIVE here!
The bathroom is being redone at the same time (I DO like a challenge). I knew to prep the walls and ceilings first, with caulk and spackle and all. All artwork came down and I squished my room to one end, which is easy when your room is twenty two feet long. Here I have my paint pails, sandpaper, tools and caulk on my antique Wurlitzer organ (the checked tablecloth). I don't know what I was thinking. I would soon transfer them to my Victorian Side Table.
Of course.
Apparently this was a Laundry Day. Bedsheets included.
Note the 1950s recessed central light fixture hanging down. I didn't remove it, despite my hatred for overhead lights, especially this variety in my 18th Century home (even thought his addition was built in the 1950s).
I've simply too much to do before the end of the year. Remember, I have to get this place refinanced or else I LOSE it.
That light fixture will be screwed back in place and forgotten.


The wall I would attack first. Yes, I would remove the heater. Sheesh.
Note the protruding new electrical receptacle (try saying that while drunk; you might as well say 'judicial system,' which makes you sound drunk even when you say it straight), which is not buried in the wall for a good reason.
The reason is because this wall is originally an exterior wall, with lap siding behind the homasote (not drywall, in case I said that before). I will eventually remove the homasote and expose the lap siding.

Blue-blue. On Blue-blue.

Yeccchhh.

Unfortunately the wrong color!

I had decided a number of years ago that I would paint this room peach with sage trim. Some among you might cringe. "How how how....what what what...?"
Now don't get your little girl panties in a bunch.
I had the same reaction when I was restoring the 1845 Cason House in Hodges, South Carolina in 1989. The owner, Peggy Smith, insisted on this color scheme. She even went so far as to suggest burgundy for the door and window trim.
I thought this was ridiculous until we got the paint. Then I saw the madness to her method. Peach is warm and sage is cool. They go together beautifully. And the peach changes color as the light through the windows changes. But burgundy for the trim?
I had my doubts. So, unknown to Peggy, I lightened the red and only used it for the rails and stiles of the doors as well as the window sashes. The outside casing and trim were painted sage. And for the panels of the doors, I concocted a silver-gray for those interior trim elements.
When I was done, I had to marvel at how well it worked. And every morning, when I awoke in my bedroom at the Cason Farm, I smiled at the colors of the room.
But, but, BUT!
Back to Connetykit.
What you see in the paint store is not what you see on your walls. Never is. I knew that I had chosen a "peach" that was closer to a "salmon," and I HATE orange. Nevermind that salmon and peach are both sort of orange. Peach is PEACH. Not salmon.


See the difference?

This shows the new color on top of the old color, the salmon behind the peach. I mixed in almost one to one a lot of ceiling white to get the right shade.


Despite the blue trim, I knew it was the right color.


Of course I had already painted the ceiling.


I'm liking it. Here the sage trim (which didn't need to be altered) can be seen on the door facings. The blue still jumps out and says AAAAUUUUUGGHH!
At least I'm not using the Wurlitzer for a paint table anymore. Note the fan and baby powder. It's June. Eighties already with eighty per cent humidity. It would stay like this until October.


The studio, normally accessible, is now a catch-all as well as a place to prepare paint. Foil, buckets, and all.


I painted the walls, ceiling, and facings other than those of the windows. I also left the spaces below and above the windows for later. I was hurting too much from all the work; the last thing I wanted to do was to sit on the floor (it really hurts, I'm old) to paint the sub-window stools. But now it was time to get the windows ready for paint, and that, as we say in the painting business, is a bitch.
First, one must remove the side stops that hold the window sashes in. Then, one must cut the weight ropes in such a way that the weights do not fall, crashing through the wood sill to become an irretrievable cylinder of rough steel.
And this is the easy part.


Dis windle is ruff. Vey, vey ruff.
The glazing putty has been missing for some time, and despite the storm windows, water has seeped in and peeled the interior paint. My guess is that it was doing this before there were storm windows. I took these and all other lower sashes) to the garage to sand and prime them.
Nice shoelaces, hey?


Proof that the windows were painted without actually removing them,  which is normal and I'm not. And yes, they are a sort of shade of white, not blue-blue as I've been saying. Just wake up to such stuff and you'll be saying blue-blue! Blue-blue! Lots of chunky paint, all lead-based. Was I afraid? Did I cringe and hug the feet of my very cute neighbor girl?
You bet I did.
Or would have, if I had one.
No, I donned my respirator and scraped the paint with a carbide scraper while vacuuming the chunks and dust at the same time. Covered everything, including myself with a Tyvek suit when the dust got fine.

"This is one of my (un) favorite things..."
I HATE brass weatherstripping between the sash and casing. It usually tears and bends, allowing air to get in, and it often makes windows unmovable. It'll cut yer hainds perty good, too, especially when removing it. Which is just what I did. Only this window set had the stuff. I imagine old Chet Izbicki was cold-natured. I am not, but I like my windows to not leak. I use other technologies rather than those available in 1950.


The parting bead is a strip of wood set into a dado (remember these terms, there will be a short quiz after you read this) cut into the window casing. It drives most homeowners wild, as they have no idea what to do with it. This one shows signs of water infiltration, which has caused it to warp and curl from its little dado channel. This will also make the window impossible to operate.
Now these little beauties are NEVER supposed to ne nailed, but most of you cretinous humans don't know that. I, on the other hand am one of the few among you that know how to deal with such recalcitrant pieces of wood.
Because it's already warped, I had to nail it. Actually, I used a tiny screw (predrilled the hole of course). But only after having cleaned out it's channel (oh my!).


What a pain in the ass!


Opening the window weight pocket can be challenging. First remove the stop, then the s sash, then loosen the lower parting bead. Look for the slotted screw about two-thirds the way up the glide (where the window sash slides). Clean this out and remove it. If God smiles favorably upon you (and She doesn't often, I can tell you), it will come out with a little coaxing and effort. If not, get out your multi-tool to cut through the dried paint (again, if you're lucky) or through the wood itself. Many old-time carpenters only cut the bare outlines of the pocket door, leaving it for YOU to complete the cut eighty years later when the rope has disintegrated and the window has fallen, smashing your fingers while breaking all the panes.
Life's good, isn't it?
This one (and all the other six in the room) came out with my multi-tool, though I didn't have to wrest them from their moorings by cutting the wood. Not true for my kitchen weight pockets, which I had to re-carve entirely.


Oh look! Weights! Six pounds each. If I was a truly responsible restoration tech (which I am on other people's jobs if they pay me to be one), I'd rehang the upper sash even though I'd never use it due to having storm windows. Upper sashes were important at one time, and especially in high-ceilinged homes in the South, where it gets hot enough to need them to operate (at least before air conditioning and storm windows came along). But though it gets hot here, the ceilings are only about four inches from the floor. I decided to screw in the upper sashes. Let someone else rehang them. I put the upper weights back into the pockets in case someone else wants to make them work. I replaced the ropes and made the lower sashes work better, tightening their courses.


Windows empty of weights, ropes, stops and sashes. Awwww.....


THIS is what I'm talking about. The Paint Scheme from The Cason House Upstairs. Reproduced exactly. I like it.

Some of you (well, only one, let's admit it) might notice that NEITHER THE BEDROOM OR BATHROOM HAVE FINISHED PICTURES.

There's a reason for this.


They're still not finished.

But I'll have some more-or-less pix soon.
In the meantime...

Thursday, February 21, 2019

              BATHROOM

So, with nine days off (actually ten, which included my vacation plus two weekends, one containing Memorial Day), I decided to get three projects under way as well as close to finishing. I'd paint half of the bathroom, the entire bedroom, and wrap the stove and dishwasher in varnished longleaf pine in a board-and-batten design.
It shouldn't take more than a day or two...


stripping the bathroom walls

I can hear you thinking 'HALF the bathroom? Why HALF?'
Well, look at the picture above. One half of the bathroom has the tub, which will need tile and a glass enclosure. I have Masonite 'tile' and duck curtains. I am poor. I cannot AFFORD real tile or a glass surround at this time. So I worked from the right side of the toilet around the left side of the room, ending at the unseen corner to the right.
Because of the tight time schedule and because I am cheap, I thought I'd just prime the wallpaper and roll on a few coats of paint I already had.
Well, you know how I am.
I started, didn't like the peeling and tears in the wallpaper, so I wet it down and began to scrape. I cringed at my foolhardiness.
The walls aren't made of drywall or plaster in this room. Like the kitchen and studio ceilings, they are sheets of homasote, a type of lightweight fiberboard popular from the 1940s through the 1970s. It's weak, porous, and stinks when cut with a saw. They supposedly still sell the stuff, though Grok knows why. My ceilings in the kitchen was sagging, if you remember . So when I started the stripping of wallpaper, I expected trouble.
Wallpaper comes in two varieties; paper and vinyl. If you wet the paper, it separates and a flat blade can scrape it off easily. Vinyl repels water and usually requires scoring with a sharp utility knife for the water to soak through. I prayed I would find no vinyl; I knew the first layer was paper.
Luck be a lady tonight!


The sink wall

I lucked out! The first layer was backed with plain paper, as was the rest of the wallpaper. I didn't have to score it; merely wetting it with cheap automotive blue windshield fluid (yea, that stuff is Da Bomb) made it easy to remove. It will only take off a layer at a time, but it works like magic. The big fear I had was the last layer.
Homasote is SO porous that anything glued to it would likely have penetrated to the point of causing my scraping to gouge the surface. I might end up pulling out the walls themselves. So much for three jobs in nine (ten) days... 


The last wall, where the refinishing of the walls would end at the left. Note the Masonite 'tile.' As well as the horrific blue-blue on blue-blue of the bedroom beyond.


Surprise at the sink wall

I whooped for joy when I got to the wall itself. It had been painted with two coats of the same sickly blue-blue as the bedroom, and the finish was semi-gloss. The paper came off easily while a good wash with soapy water and a scrubbing with a plastic scrub pad did the rest. I removed the crappy tape joints. I could do a lot better.


The sink wall stripped. I did not strip the bottom three feet; I intended to put wainscot there. I'd already wired in the vanity lights a few years back.


The ceiling is also homasote, and I decided to keep the one lath strip rather than remove it for taping and floating. I did wash off the mildew spots, though, revealing the other tape joints as whiter stripes. They're not joints, they just cover nails.


I still don't know what this feature was. Apparently someone cut out a twenty-eight by fourteen inch rectangle, then replaced it and floated it very badly. I don't know why; there are no pipes or electrical lines there, other than the ones I put in myself. And I know I didn't do it. Too high up for a body. Hidden treasure? It'd have to be a small treasure; my interior studs are live-edge slabs of pine and chestnut eight inches wide by one and a quarter inch thick. Snaking the wires through a one inch space was fun, let me tell you.


I taped and floated the homasote, a new experience for me. Note the pencil marks, these are tiny  holes and discrepancies in the float work. So much for just slapping on a coat of paint. Once I get into something, I dive perty deep. After floating, refloating, filling small holes and sanding out lines, I rolled on a mixture of 2 parts drywall mud to 1 part white latex paint. This gave a heavy orange-peel texture that evened out the fibbrous walls, the tape, and the entire surface.


I knew I wanted  a light teal or aqua for the walls, as it would add a cool element to the warm, deep orange-red of the heart pine wainscot below. Being the cheapskate I am, I went to the paint store and asked to rummage through their off-mixes (very inexpensive) and recycled paint (free). I found a few colors I liked and intended to mix them with others to tweak them. In the end, I found this green that suited nicely, though I would have preferred it to be semi-gloss, which holds up better to moist bathroom air. The trip to the free bin paid off twice, though, as I found a red I wanted for the windows and doors for the bedroom.


The sink wall wainscot, still being trimmed. This beadboard was a small amount left over from a job while I was milling heart pine at DCAM, where I worked for three years. I took home a lot of cast-offs, and will thank Brian Cooper for allowing me to add them to my project. Reuse, reuse, reuse! Hey Brian!
I precut, sanded, and finished the boards in my shop; varnishing in the house will leave the taste in your mouth for days.


After the lights and mirror went in, it began to look like a nice bathroom. I still had to add the cap to the wainscot and put in a new floor. Note the hinges on the door; the pins are on the inside, and both this and the door where I'm standing open INTO the tiny bathroom. No wonder they never put in a sink.


The bedroom door after I removed it, took it to the shop to scrape, sand and prime, then rehung it to swing OUT. This is a colonial era door, and as you can see from the bottom rail, has been trimmed extensively. It is unlikely that there was a door there originally. The bathroom was a part of the long room that is now the studio and served as three tiny bedrooms when The Izbickis lived there. Indoor plumbing wasn't installed until the fifties, and the bedroom wall to the left has lap siding under its drywall. The bedroom is a 1950s addition. Note the new, unpainted stops on the frame.


The hardware, including screws, keeper, latch bar and guide, thumb latch and handle. The handle was wrapped in blue tape to keep it from overspray of the steel. It is pewter.


Very old and very heavy hinges, one stripped and cleaned, the other still needing attention. Not typical Colonial, but vurry vurry nice. The pins do not remove. Note that they are not as wide as today's hinges; Colonial doors such as this one are only an inch thick.


I did not strip all the paint, as it was far too thick. I sanded it, patched it, and removed as much of the chunky stuff as was necessary.


Note the still-painted strip to widen the door at some point in the past. The area near the latch needed the most attention, but I did not completely patch the scratches above the thumb latch, which have been deepened over the centuries by many a thumbnail.


Well, well! This door has been reversed before! Note the mirror-image screw holes for the hinges. Nothing ever changes.
Except the direction of this door.