Sunday, March 24, 2019

BARNS 1

1730s

I write 1730s because no one really knows when these barns were built. I have three. But the Standish tales and town tax records lend to these dates.
The 1730 barn, the 1830 barn, and the 1860 barn; I'll drop the possessives right now.. The 1730 and 1860 are joined. The 1830 is separate. It is referred to as "The Tractor Shed." It had the skeleton of an old tractor when I first saw the property in 2012, and said machine was removed at my request as a part of the property transfer.
If you want to get technical, go back to the beginning of this blog; one of my first tasks after buying the place was to clean out the household garbage piled in each barn (as well as the greenhouse, shop and garage), then to stabilize the buildings. I knew my main object was to make the house livable and to get it refinanced, so the outbuildings would have to get the short shrift. Stabilize, then restore.
One of my neighbors, apparently watching more closely than I expected, smiled at me in a local store.
"See you're restoring the old barns on the Izbicki place."
I nodded.
"You're doing it right, a little at a time."
I don't know if it was right, but as always, I have no money, a lot of sweat labor, some tools and experience, and an expectation of what is needed to save old structures. And though I have time, it comes in tiny dribs and drabs.
So let's see how it went....
So far.

A little synopsis. Music, maestro...


First view, 2013

 Removing garbage, realizing it needed some shoring so it wouldn't collapse.
Also realized the big barn was TWO barns.

The 1860 barn had a bit of a roof problem. A bit of a RAFTER problem, in fact. Which meant the other side of the roof was about to collapse. I would shore it and remove this part. Good practice for what was to come.

 More shoring, this time the front wall. Rafters with eight layers of roofing caused the wall to move out. No joists, either. Cause and effect.

 Shroring the 1730 barn. Sheesh.


Life throws curves, old barns do too. I had already removed most of the garbage from the milking floor of the 1860 barn here. Opened a few old windows, too.


I'm sure my two readers have already seen all these pics, as they were posted years ago, but I hope for a few new readers someday. Besides, it's important to show you this so you get some perspective on what's going on now. Go on! KEEP READING!!
I soon realized I had a disaster on my hands. The frickin' SHINGLES were holding the barns together. Twenty nails in each. Good thing? Maybe. I did some engineering to maintain the front wall, moving out at an incredible rate. See the big 2x10 at the eave? It's not for decoration.

 I drilled holes and put two big x10s with gigantic eyebolts through them, then brought out my 2-ton come along to keep the front wall from going down. It would have brought down the entire structure.

 View from the loft of the 1860 barn, looking at the 'cleaned' floor of the 1730 barn. The 1730 barn was used to store hay, the 1860 barn for milking cows.
I wouldn't know this for almost six more years.
Most of this furniture burned nicely. All, in fact, except for the chair in the lower right.

I strung lights to work in the early dark of winter. What a dweeb. The 1860 barn is now secure and the 1730 barn will not collapse. Yet.

 I set up staging to cut out the failing roof in three by three sections (it had eight roofs plus cedar shakes), then cut out the failing front wall the same way. Trust me, vertical is easier than angled horizontal when it comes to one-man demo.

 Took a while.


Ahh. THAT'S better.
Late 2017.

Little liar! 2017 was BITCH of a winter.


 Still used the staging to reinforce the old walls with anything that would hold them together. And didn't cost anything.


 Section of removed roofing. Headache! Two hundred pounds, mates. Thirty or forty of these. Fun to remove with one hand.


 Same inside.

 Reinforce the wall, which, let's face it, is ancient split barnboard with horizontal trees for framing.


Hurricane braces that wouldn't withstand a strong breeze had to be temporarily reinforced.
Especially without a front-wall plate.

 Geez. Why do I do this shit?


 Brace the standalone corner two ways. No. Three ways.


 A gift from the Farm. I often get these. Three two-inch wide southern yellow pine boards that, when screwed together with staggered joints, will form the plate I need to join the two barns and to support the 1730 barn roof. They seep a LOT of sticky sap each summer.


The barn ready for sleep, late 2018. I had set it aside for the refinance and expected to take it up again in late winter.

Cleaned up, January of 2019. Time to get to work again.




SHOP


My wood shop is small, but extremely ugly. Built in the late fifties or early sixties, it has shiplap siding, a low-pitched roof, and windows on two sides. It has leaks. Leaks, leak, leaks. Buckets and buckets.
It was the first building I cleaned, and this on the second or third day after I moved in 2013. It was filled with household garbage to above head height, and I needed it because in addition to having all my household goods arriving in two days, the 28 foot trailer also housed my shop. Lathe, table saws, drill press, planer, and band saw. Plus every known hand tool ever made.
I needed them for work, and I especialy needed them for the restoration to come.
Once the building was outfitted, I found out the hard way that this building reached three thousand degrees in the summer. No shade, you see.
Plus it leaked like a sieve. Why?
The roof, of course. Pitched too low for anything but a metal or rubber roof, the old farmer before me  put on shingles. The water backed up and leaked.
I thought of removing the shingles and reroofing with metal, but soon discovered that each shingle had ten to twenty nails.  Shingles require three or four.
So, when I got money for my loan (Hey Grant!) I went to Norwich Lumber, a small, local company, had a personal meeting with one of the managers, and ordered a less-than-modern type of metal roofing. Known as 5V, this type of roofing was common on barns in the thirties and forties (NINETEEN thirties and forties, I must make that distinction on this property), and sports five V-shaped rasied sections to give it strength and lock one panel with the other.
The idiots at Norwich Lumber sent me the wrong stuff. It looked like something for a trailer park. Then they said it was a special order and wouldn't exchange it.
So much for Norwich Lumber.
I figured to use it anyway; it's not that visible from anywhere on the property (took me the better part of an afternoon to find a place from which to shoot the pictures), and it would shed water. Plus it was white, which might make the shop more bearable in summer.
But I'd either have to install 1x3 purlins, like on the house, or....
Well, I couldn't just set it on the shingles; the rough, uneven surface would screw up the metal, especially if I had to walk on it.
But I has a whole lot more ice shield, a type of roll roofing used around the perimeters of the house's roof, so I scarfed some of that up, nailed it and taped it, then put it on the roof.


 The shingles can bee seen through the ice shield. It took me a few hours to install and tape the ice shield and another half a day to install the metal. Ozzie's crew watched with fascination as they roofed my house; never before had they seen a client roof another building while they roofed his house.
 The roof installed, I took a closer look at the Shop. It wasn't a bad building, really. And last year I had installed a fan at the height of the high side of the roof, and it seemed to cool things down quite a bit. In the summer, I remove the window sashes; screens (scarfed from elsewhere, of course) keep out most of the bugs, and I had built removable louvers to keep out blowing rain as well as unwelcome sunshine. In winter, this building is bearable on sunny days due to its treeless condition, but when it's cloudy! BRRRR. Just like my house. A solar cell in sun, and icebox otherwise. And though if you look REALLY close at the white roof panel on the right, you can see my (again scarfed from elsewhere) skinny sapling of a mulberry tree, it will be YEARS before that thing gives me shade. Or berries. So the white roof should help some. But now I wanted the building to look like something more befitting such a property as the eighteenth century Standish Farm. What could I do?
I already knew.
It was the same thing I 'd do to the barns.
 Setting up.
 Repairing the lowest runs of shiplap (just furring out where the shiplap had been), rotted away from having no gutter. I'd solve this by installing the reconfigured gutter from the house. Reuse, reuse.
After removing the louvers, I has to install a few runs of 30 lb. felt, originally bought for the house roof in 2014 (what an idiot! though it came in handy here...). This would seal and somewhat waterproof the shiplap. Note that the corners are wrapped first.
 Now you can see why I brought out the portable table saw. To install a board-and-batten design sheathing, one must be able to mill the boards as one goes.
And on this property, one does GO.
 What a frinkin' mess. But ya gotta break some eggs...
This shows the need for the table saw. Each board has different characteristics, and some need to be cut thinner due to knots or splits or other discrepancies. I had to choose which boards were good enough to become the wider BOARDS and which would be suitable for the thinner BATTENS. See how it works? Really happy I got this saw just before I left Little Rock. Hope it will make me money someday, but if it doesn't it's sure coming in handy here.

Which brings us to the last post; all about the wood. For three years, I collected all the cutoffs from my job, and here it's finally paying off. I KNEW what I wanted to do with it. I just had to get to that point. This pile, featured in the last post, is being slowly depleted after sitting there for four years. Heart pine doesn't rot. And if you keep it from the sun, it stays red.
I knew this would pay off eventually.
I still say eventually because Winter stopped this job in its tracks.
But I'm almost caught up on this stupid blog. Winter began to break apart in January, and we have had very little snow this year. Weird. It has been cold and wet, but until a couple of weeks ago, we had no snow more than three inches.
I knew it was time to get back to work on the barns.

Saturday, March 23, 2019


WOOD

Well, hardly anyone reads this thing anymore, but I don’t mind. I’m doing it for ME. It is very possible that I’ll croak one of these nights, and since I live alone and have few (no) friends, no one will know. None in this area, anyway. No one comes to the house.
Boo frickin’ hoo. I like it this way.
I am alone, not lonely.
But if I do die in bed, at least the dogs will be fed by Dad.
Just in a different way.
So this is my record of what is happening here, or will be if I ever catch it up.

I’m almost there. 

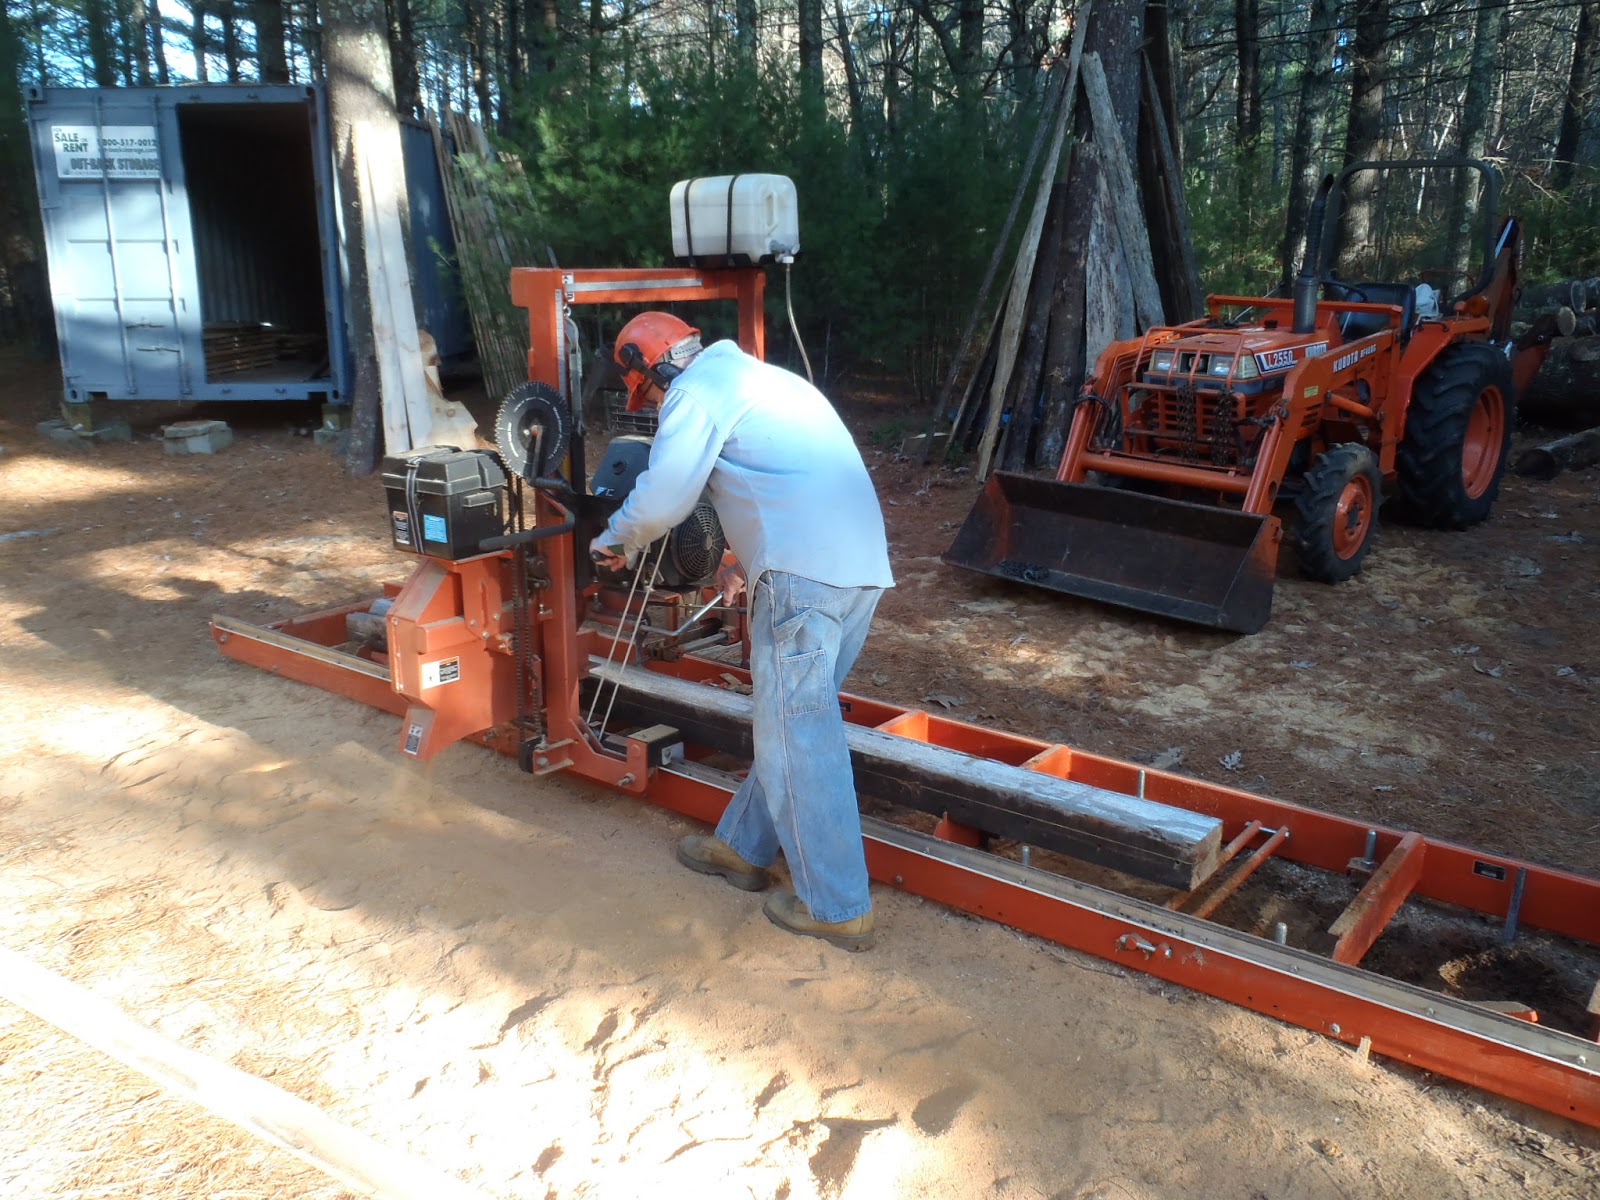
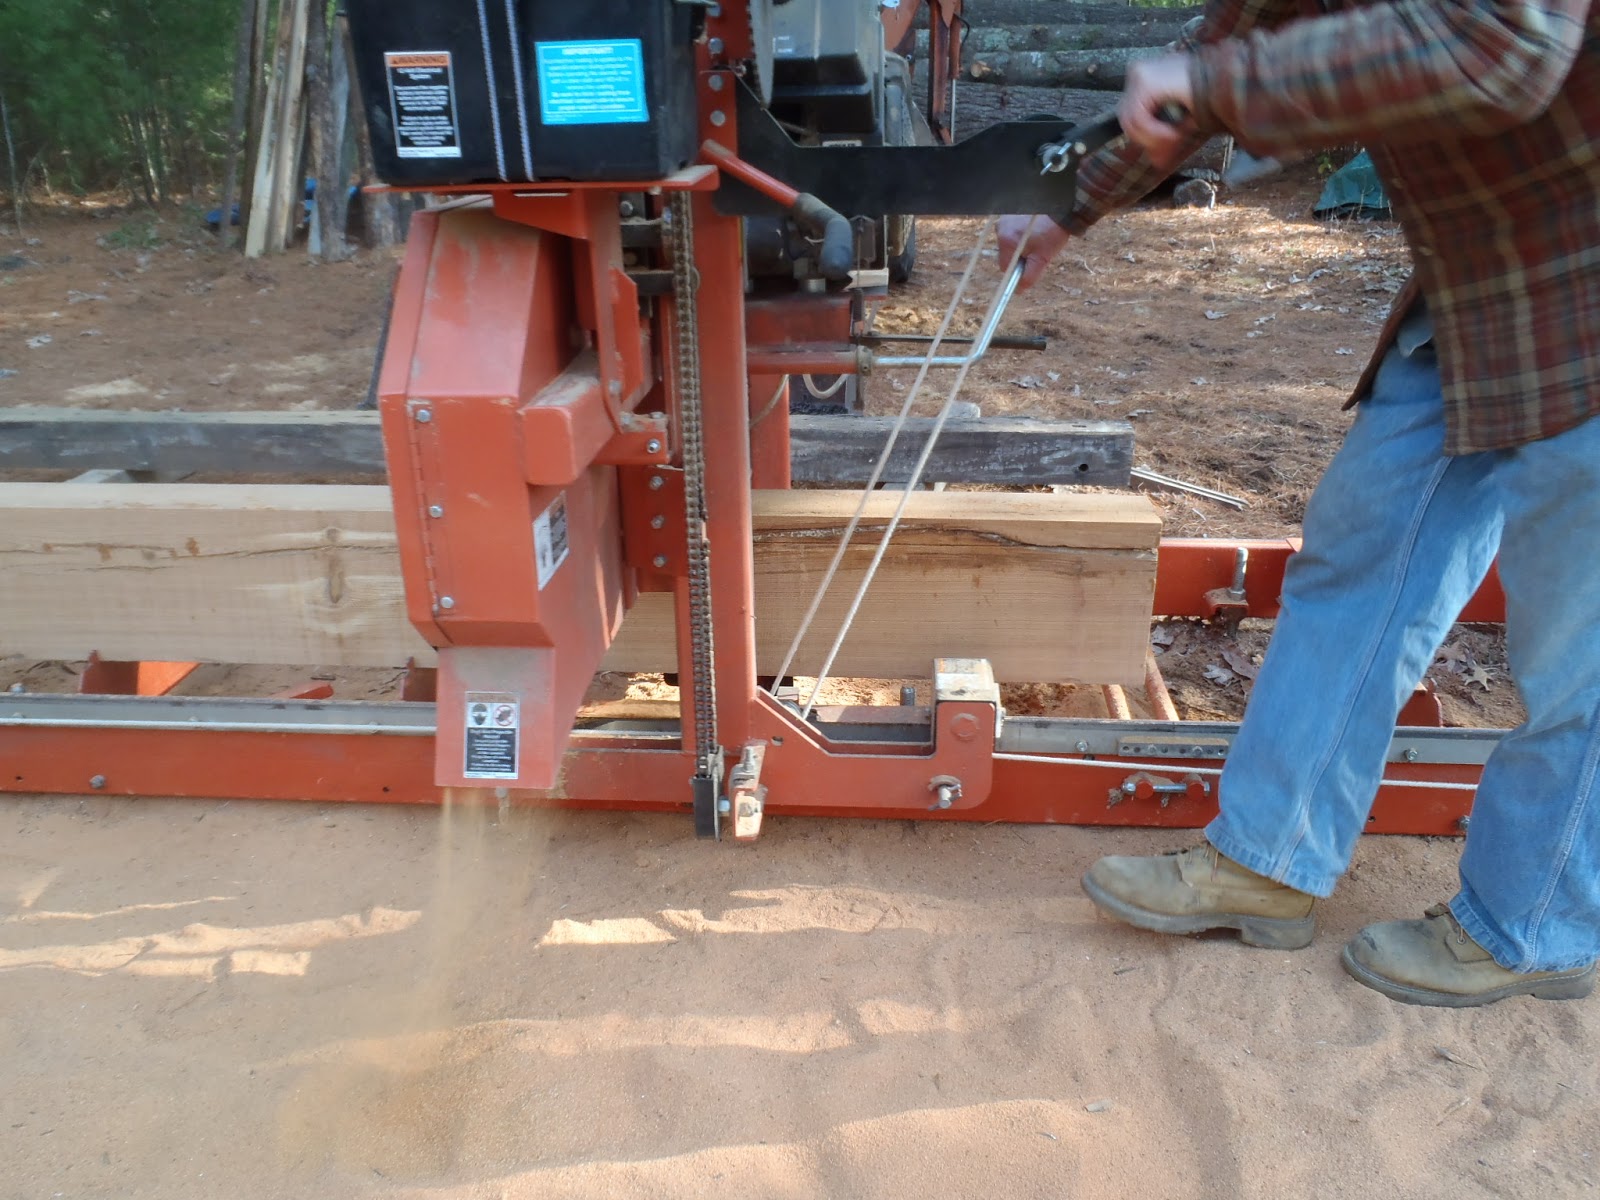
I began gathering wood when I ran the Woodmizer sawmill at Deschenes and Cooper Architectural Woodworks (DCAM) in 2014. The Woodmizer is essentially a huge horizontal bandsaw on a set of tracks. My job was to mill 4 to 500 year old antique southern yellow longleaf pine (also called heart pine) into flooring and joists. It had to be denailed first, and my arm still hurts six years later.


My mentor and constant friend Richard Heinz, expert Woodmizer operator. I and my friend Josh loaded big timbers and took away slabs while Richard ran the saw. We did this in the snow, in the shade, and all winter long in 2013.
It was a bitch on our feet, which froze. But Richard was a saint and a good teacher.
Hey, Richard!
He is also an absolute artist with a lathe, and took the leftovers from our cutting to turn into gorgeous bowls and such. He even turns thin stirring sticks from heart pine called spurtles. I use one of his spurtles every night at cocktail hour.


Slabbing


My personal spurtle.


It's quite an involved operation, sawing slabs with a Woodmizer. Set the denailed timber, slice off the painted bit, then turn it and turn it again to get the quarter sawn profile that will show off the straight lines. You'll see what I mean. Slab by slab, we gathered the pieces that would eventually become the fine woodwork that trims out The Morgan Suite at the Ocean House in Watch Hill, Rhode Island. You can spend the night there, if you have the bucks.
Ten thousand a night.
At least that what they tell me. They wouldn't let anyone of my ilk near the place.


But first they have to be denailed. One nick from a hardenened nail (square nails five inches long) and you can kiss your blade goodbye and take ten minutes to change it. Denailing took forever, and it is a craft. Pulling nails like these was not for idiots. You used metal detectors, Japanese nail pullers, and wiles.


You see, I milled the joists and flooring from 27 foot-long 7”x15” beams salvaged from a deconstructed woolen mill near Boston. The wood was cut in 1870 when it was old growth, thus my guess at its age. Much was cut off that was unusable. It had paint, it had black areas from iron oxide. It had nail holes, it had yellow pitch.


 Timbers at the Yard. Scary place. Scary foks ran it.


Certain timbers were marked by Chad, the project manager, and me; these had the right grain structure for our purposes.
And though we began by milling the trim for The Ocean House, we eventually milled the stuff into all kinds of things for the same client. He had a penchant for clear, quarter-sawn heart pine, and used the wood for his own home we were building in Avondale, Rhode Island.


Some nice cabinet doors. Nice milling and joinery, no?


Finisher Brian showing off a cabinet door ready for finishing (eight coats of varnish with sanding between each). Matt is impressed. Or possibly trying to figure how to get out.


The slabs I created with the Woodmizer, once I learned to use the one at the shop, were straight, flat, and showed off the straight grain beautifully. You can't really see it here.


You can here. Kitchen cabinet doors; the hole is for a bumper or magnet. Or a hinge.


 Arches made from quarter-sawn heart pine.


Bent into shape and glued up. Each is quarter sawn, the grain perpendicular to the face.


All from these, which crowded our parking to for a year. I grabbed them with a forklift, placed them on the sawhorses, denailed them (with the help of Josh, without whom this could not be reported), then cut them into twelve-foot lengths to be milled into whatever we needed.


 Ah, denailing. The bane of my existence for over two years.


 When milling heart pine, pitch builds up on the blade, causing it to wander. You can't clean the blade, you must replace it BEFORE it ruins the cut by wandering. We went through a LOT of blades before I started cutting the ends of the timbers to check for excessive pitch. Those timbers were set aside.


I had to determine which way to turn the timber to get the perpendicular cut that would produce that straight-line cream-and-red grain.
There was a lot of waste. 
And I got the leftovers.
I asked to take the leftovers home, and they said okay. The really clear stuff with no marks would become crosses, which I mill and sell. The iron-stained stuff would become framing lumber, though to join it one must drill pilot holes and use screws; it is fabulously hard.


Framing lumber, containing holes and stains, pitch and cracks. But it holds up very well.


The in-between stuff would be used for barnboards; heart pine is notoriously distasteful to termites and bugs.
To add to that, I was also allowed to take home the antique white pine flooring and barnboard they didn’t want. All this would be used to sheathe the barns I knew would need them, since those barns were covered with shingles and the original boards beneath are often questionable. Shingles on barns built in the eighteenth and nineteenth century are anathema to me.I want them to look like barns. WOOD barns.


Did I have anyplace under cover to store it? NO!

Did I have a way of storing it on the land? YES!

Would I lose some to rot?

Probably.


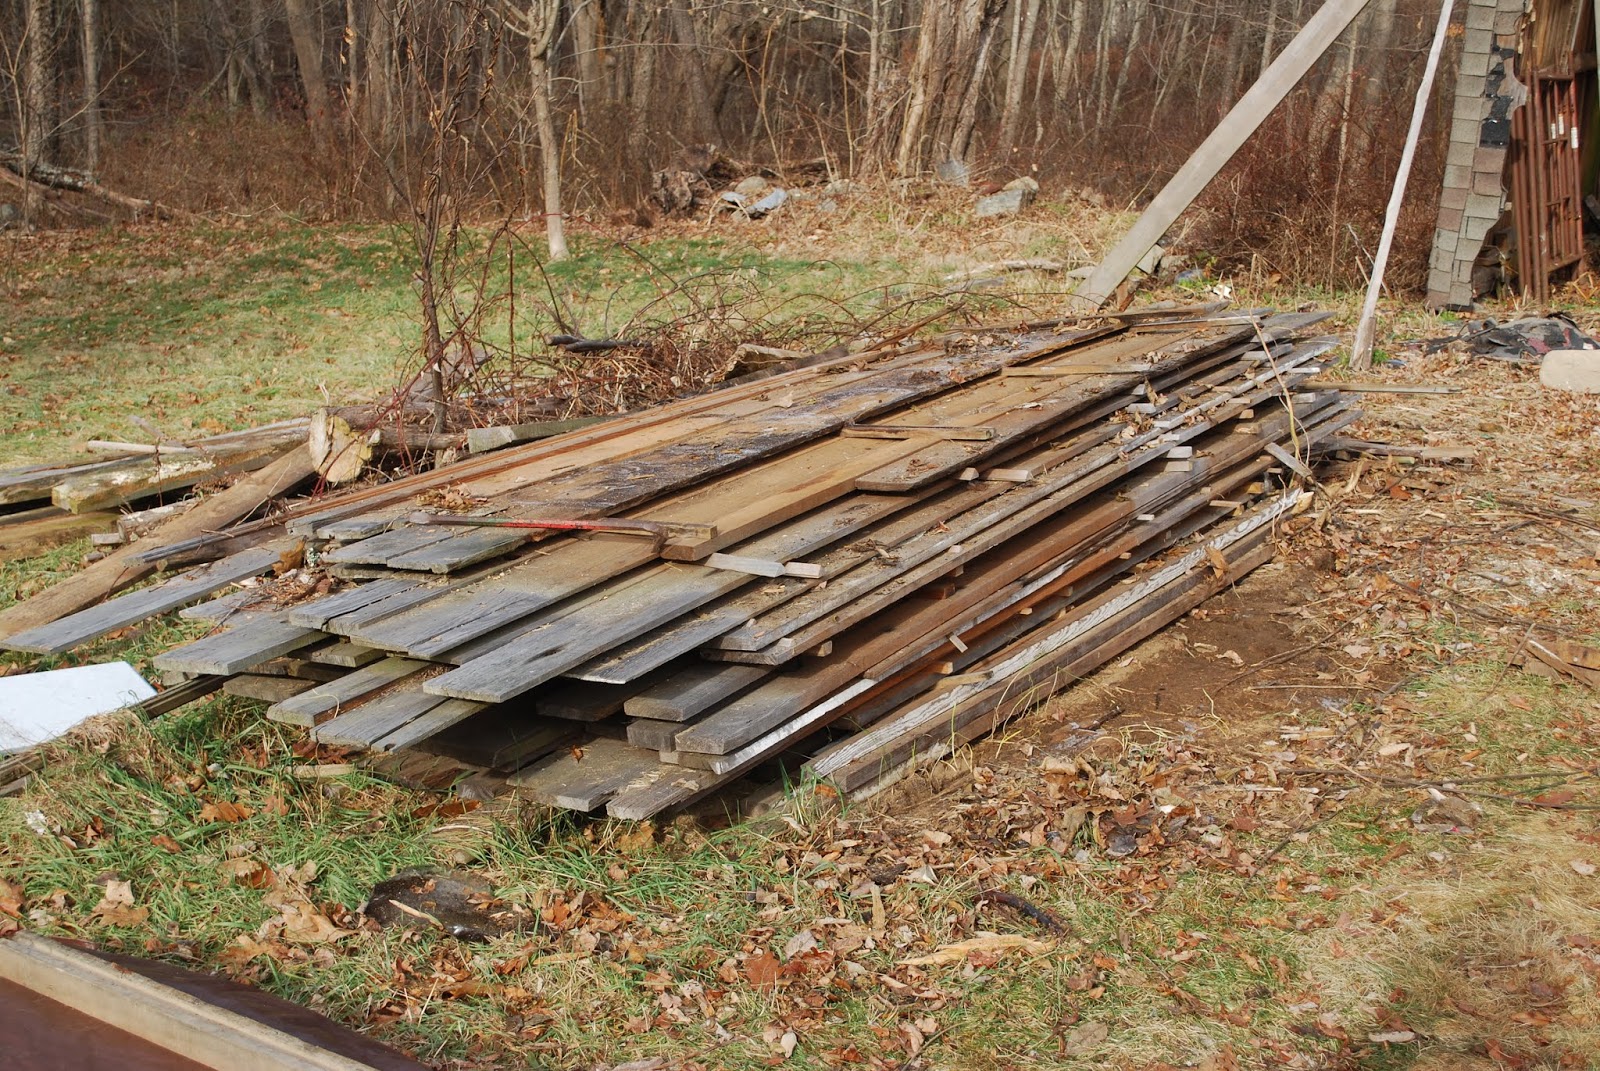
The pile on the left is thin heart pine, the pile on the right is eighteenth century eastern white pine. It has been stickered (thin sticks between to allow air circulation), and has also been (since this was taken) covered with plywood.


This pile is destined for my sheathing my wood shop, built in the 1960s and BEGGING for a new coat. It would not be disappointed.

You’ve already seen what I can do with the pretty, thin stuff. I used it as trim in the Standish House.
Just wait until I sheathe the Barns.
I have three.
Plus the shop.